Give the best gifts this Christmas...
- wigglywoocraftemp
- Dec 1, 2021
- 3 min read

Are you thinking about the gifts you are giving this Christmas? I always used to struggle with my parents and in-laws, as they get older they don't just want stuff, they are all trying to get rid of it or it gets stuffed in the cupboards and drawers never to see the light of day!
So now I buy them an experience, an outing or some kind of treat out. My parents are very easy as they like going to the cinema, afternoon tea and the theatre and mum loves a beauty treatment too. So these are the type of things I try to buy for most of our family members, even the younger generation likes these type of gifts.
I like to support local business too, so I do some research and ask my friends if they have used the companies I am thinking of using, word of mouth is a powerful advertising tool to have!
This is also a great way of supporting the local economy too and you are not buying pointless stuff people don't want which often ends up in the local charity shop in the new year.
Also there is no wrapping to do either, just print out your vouchers and pop it in an envelope, of course you can make the envelope look more exciting by decorating it.
With this in mind the gift I am going to suggest is a voucher for a workshop for someone to come to the new garden room workshop and to learn something new.
I have added some new workshops for 2022 to the website which you can purchase as a gift certificate or you can purchase a gift voucher from £10 so they can choose there own workshop.
You can purchase gift cards here https://www.wigglywoocraftemporium.co.uk/gift-card
To see what workshops are available and for more information about them visit the events page https://www.wigglywoocraftemporium.co.uk/services-4

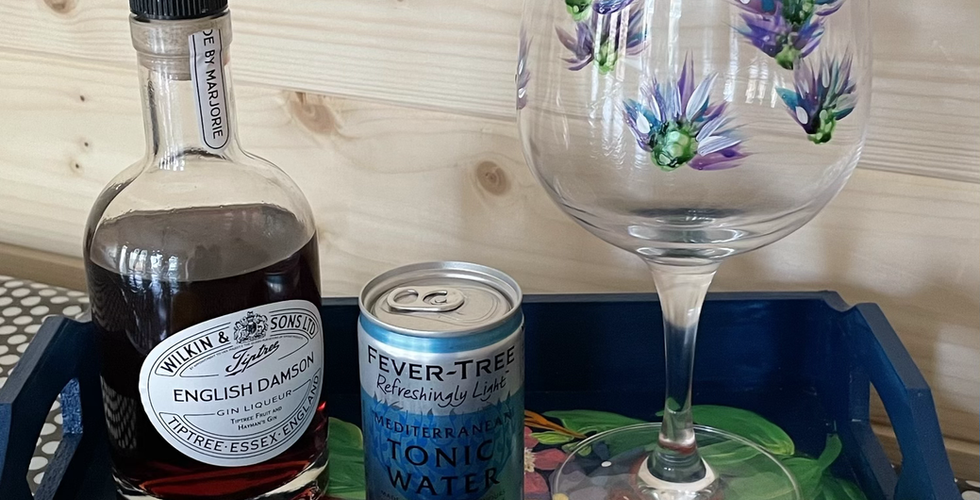


So now the gifts are sorted (well almost) here is another gift idea you can make at home.
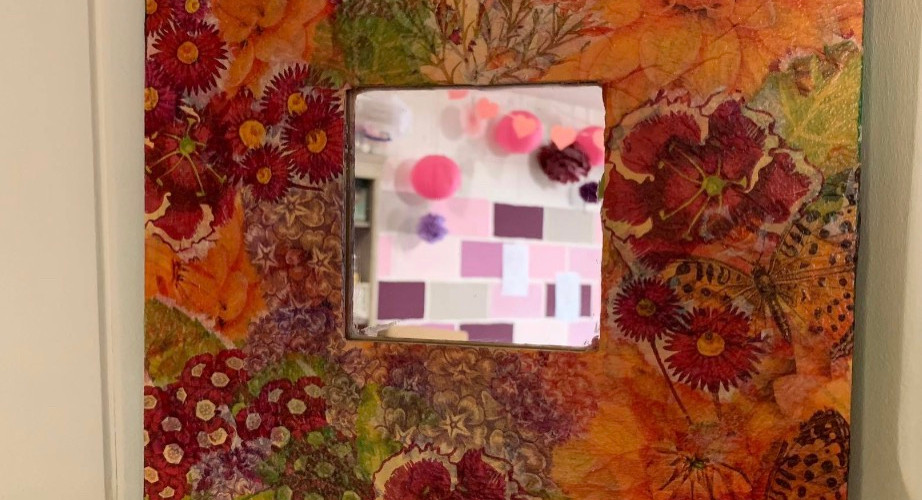
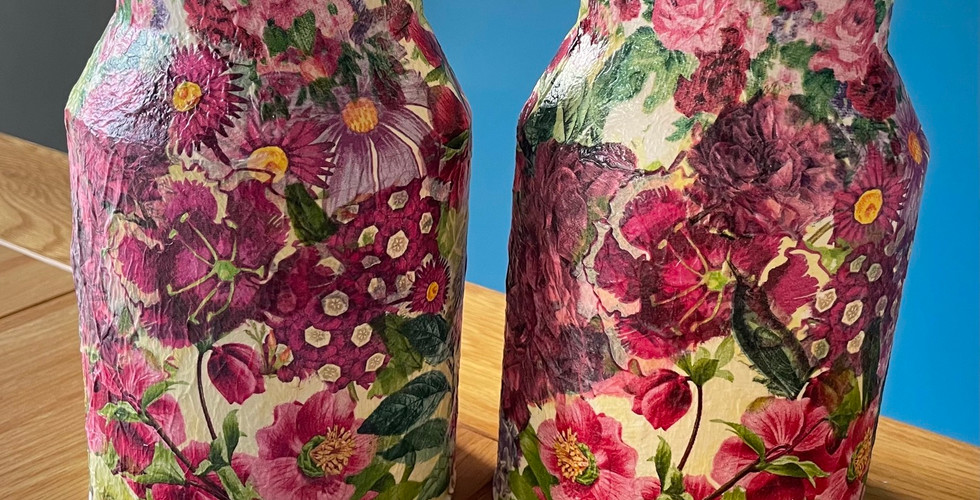
A decoupage photo frame, old bottle or vase.
All you need is some PVA glue, a small flat brush and some decorative paper napkins.
Most paper napkins are 3 ply so you need to pull off the 2 back layers leaving you a thin patterned top layer. Take a look at the pattern to see what parts you want to show off and gently tear these out, take a good look at the pattern and think about how you want it to look on your item.
Carefully tear around all the bits you want to keep so they stay whole, continue doing this until you feel you are happy that you have enough. If your napkin has a border this can also be torn out and kept to one side.
So once you have taken out all the good bits keep to one side, now you can tear the remainder of the printed napkin in to small pieces making a new pile so you have 2 piles, one of good bits and one of the other.
Now you are ready to get sticking! So make sure your item is clean and dust free
You need to be very gentle with the napkin as it tears very easily. Get an old plastic container or bottle and practice with the discarded white layers that you took off earlier. Once you get a feel ready then go for it.
Apply glue to a small area of the object and using the brush apply a small piece of napkin on to the surface and dab/brush coating and smoothing the napkin down. Continue in this fashion until you have completely covered the item. Once completely covered with the napkin allow to dry and give another coat of the glue.
Another idea is to get a large candle and instead of tearing up you napkin and using glue you apply the top layer as a whole to your candle by using the heat of a hair dryer and allow to dry, this can take a while for it to heat up and seal.
Alternatively you can still do the tear and glue method on your candle. You can even decoupage boxes to put your gifts in, the ideas are endless when it comes to decoupage!
Take a look here to see how you can do candles https://www.pinterest.co.uk/pin/543457880040600057/
If it doesn't move decoupage!


Comments